Solaris 11 installation
This post walks you through the steps to perform a Solaris 11 installation (11.4 x86) as a Oracle VirtualBox VM running on Windows.
Table of Contents
Preparation of the Solaris 11 installation
First we perform the “General Preparations for new VM Installations”. Then we download the Oracle Solaris 11.4 x86 Text Installer iso image and place it in the folder c:\sw on the Windows host machine.
Solaris 11 installation
Configure the Virtual Machine
Run these steps in a Windows command prompt to configure the new VM. You probably need to adjust the parameter –bridgeadapter1 to the name of your primary interface of the Windows host system (ipconfig /all => see Description)
set "VHOST=" && set "MAC="
(set /p VHOST=Enter VM name ^(e.g. sol1^):
set /p MAC=Enter the MAC address of the VM if you would like to use a dedicated MAC address. Press Enter to let VirtualBox assign a random MAC:
call vboxmanage createvm --name %VHOST% --ostype Solaris11_64 --register
call vboxmanage modifyvm %VHOST% --clipboard-mode=bidirectional --drag-and-drop=bidirectional --audio-controller=hda --audio-out=on
call vboxmanage modifyvm %VHOST% --memory=8192 --cpus=4 --vram=128 --graphicscontroller=vmsvga --usb-ehci=on
call vboxmanage setextradata %VHOST% GUI/ScaleFactor 2
call vboxmanage storagectl %VHOST% --name "IDE" --add ide
call vboxmanage storagectl %VHOST% --name "SATA" --add sata --bootable on
call vboxmanage createmedium disk --filename c:\vms\%VHOST%\%VHOST%_1.vdi --size 122880 --variant Standard
call vboxmanage storageattach %VHOST% --storagectl "SATA" --port 0 --device 0 --type hdd --medium c:\vms\%VHOST%\%VHOST%_1.vdi
call vboxmanage storageattach %VHOST% --storagectl "IDE" --port 0 --device 0 --type dvddrive --medium c:\sw\sol-11_4-text-x86.iso
call vboxmanage modifyvm %VHOST% --nic1 bridged --bridgeadapter1 "Intel(R) Ethernet Connection (2) I219-LM"
if defined MAC call vboxmanage modifyvm %VHOST% --mac-address1=%MAC%
call vboxmanage sharedfolder add %VHOST% --name=sw --hostpath=c:\sw --automount --auto-mount-point=/sw
call vboxmanage showvminfo %VHOST%|findstr /C:"NIC 1")
The last command shows the mac address that the VM will use. Add the IP/mac address to your local dns so that the new machine can retrieve the IP address you want to use for the VM. Now start the installation:
Perform the OS installation
vboxmanage startvm %VHOST% --type=gui
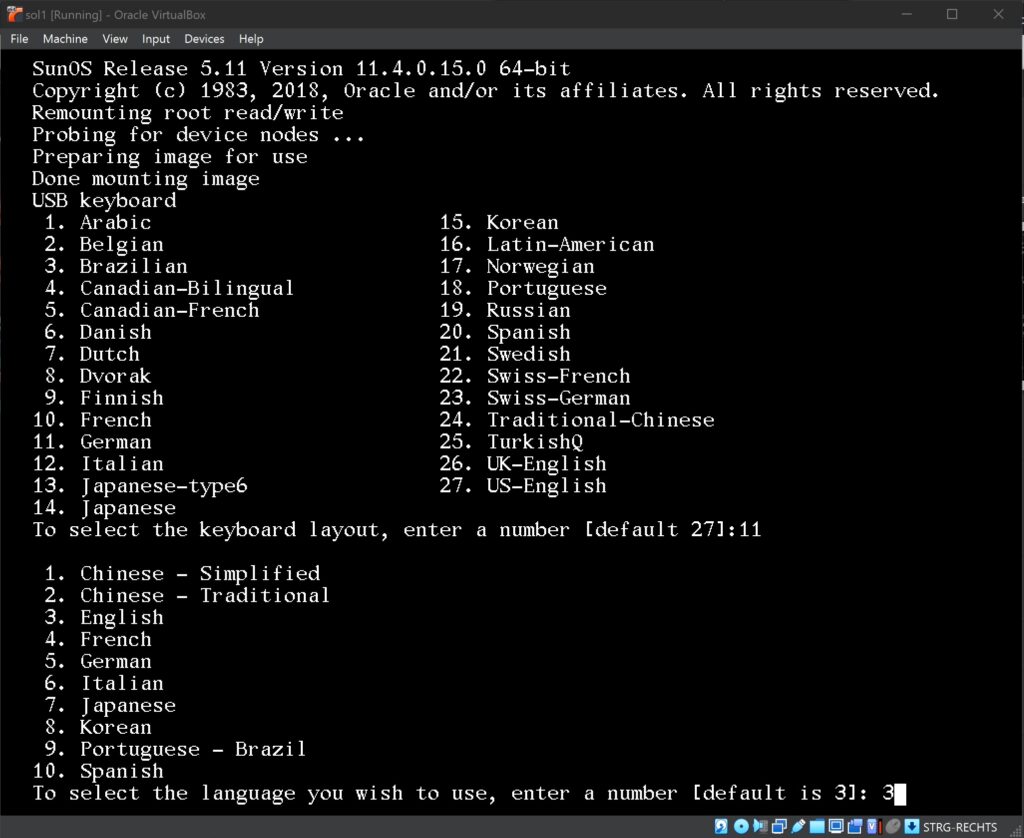
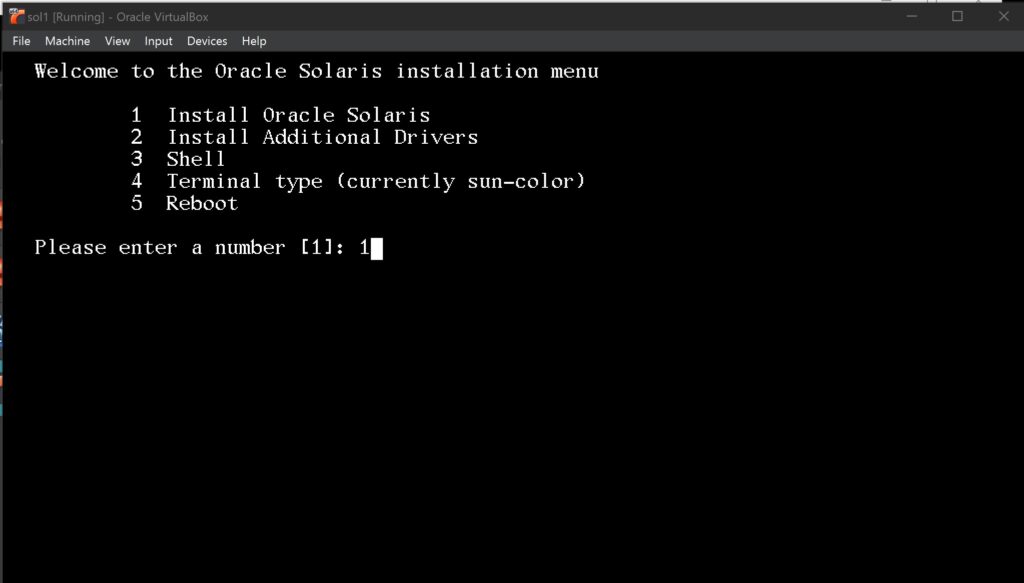
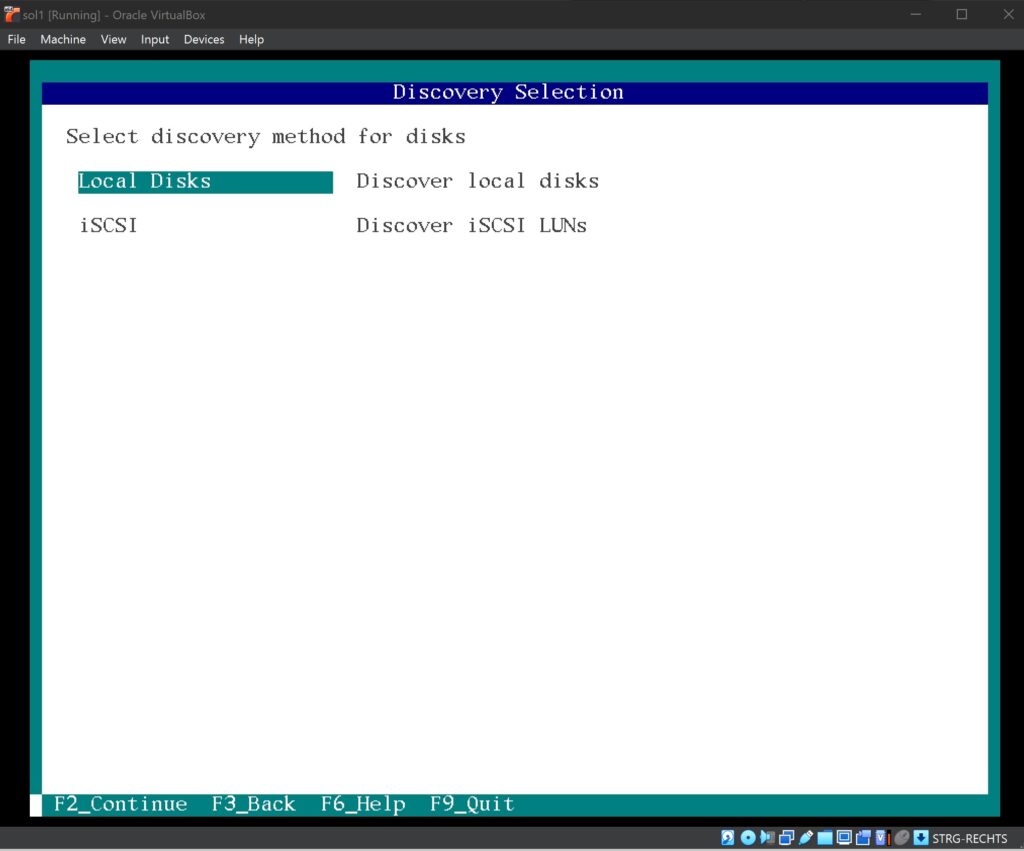
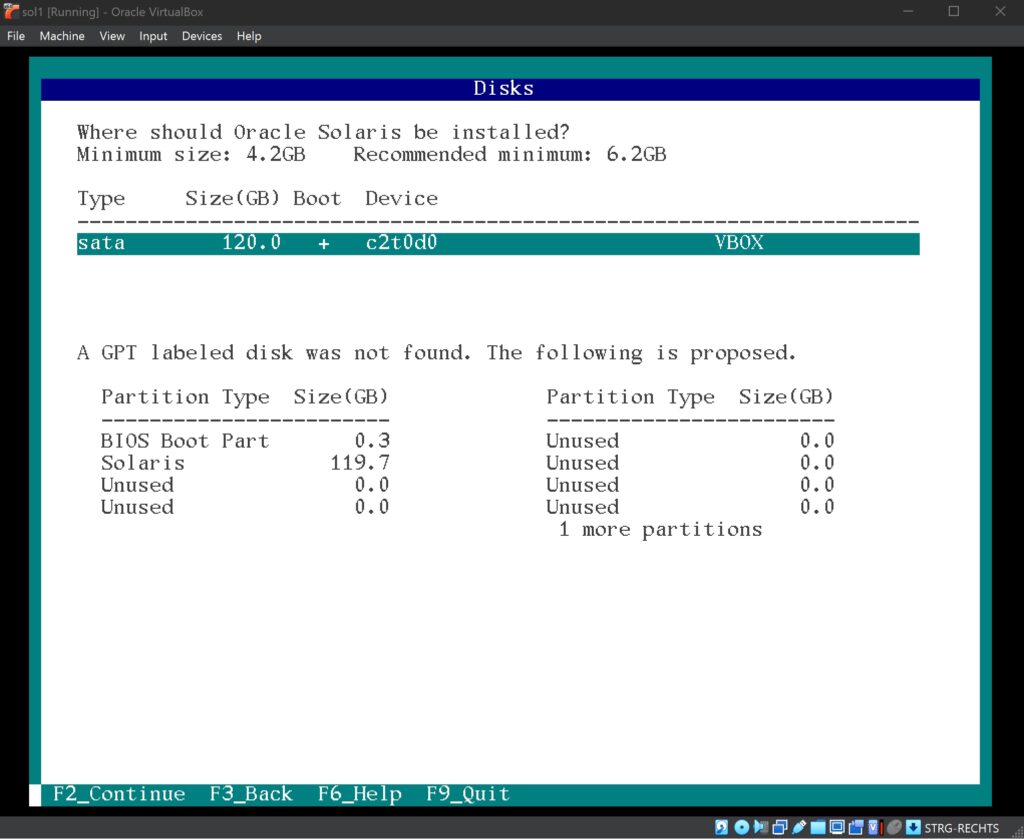
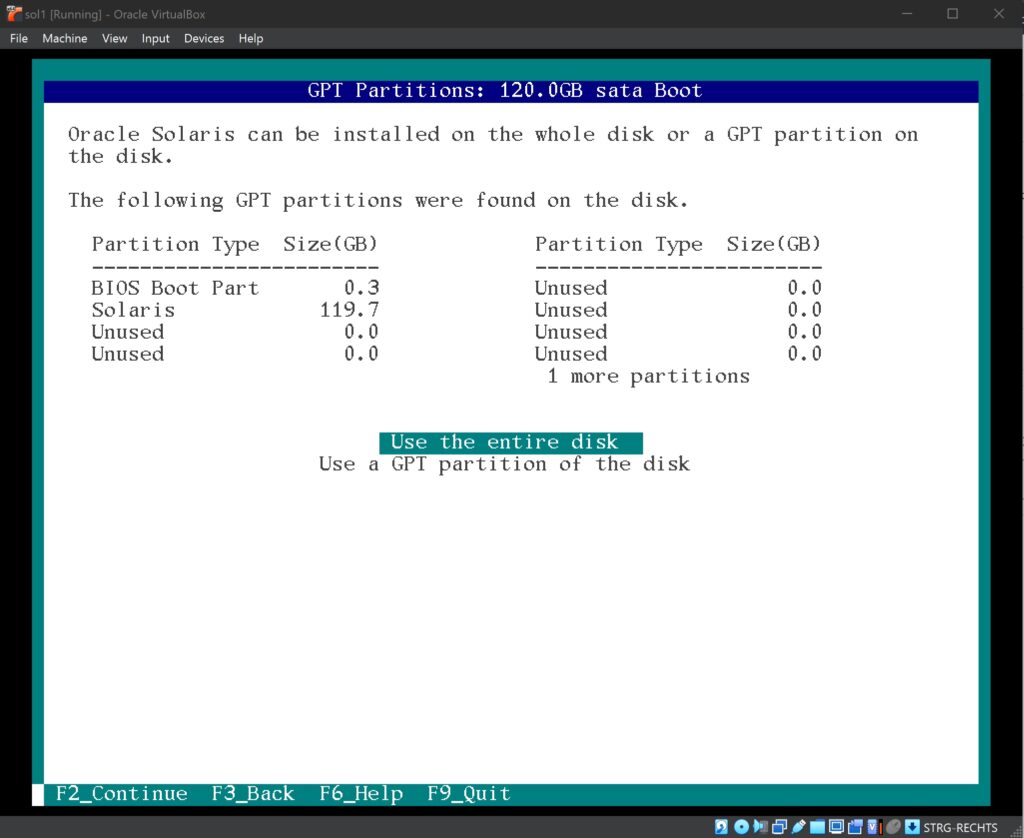
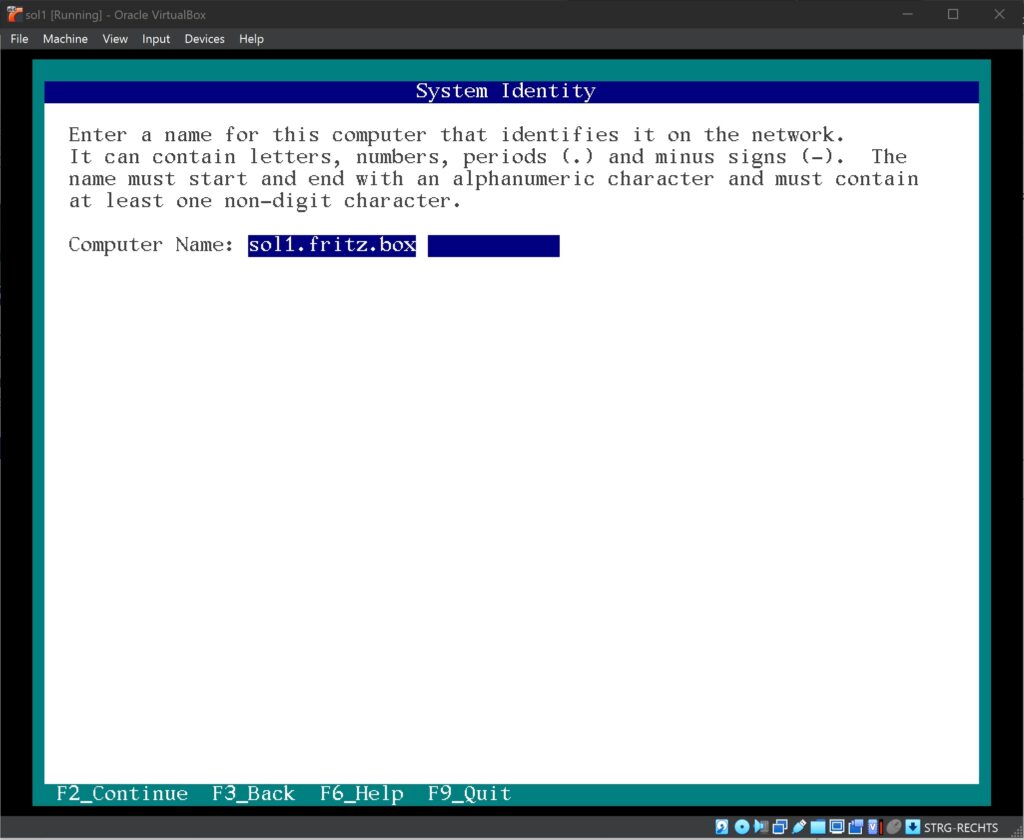
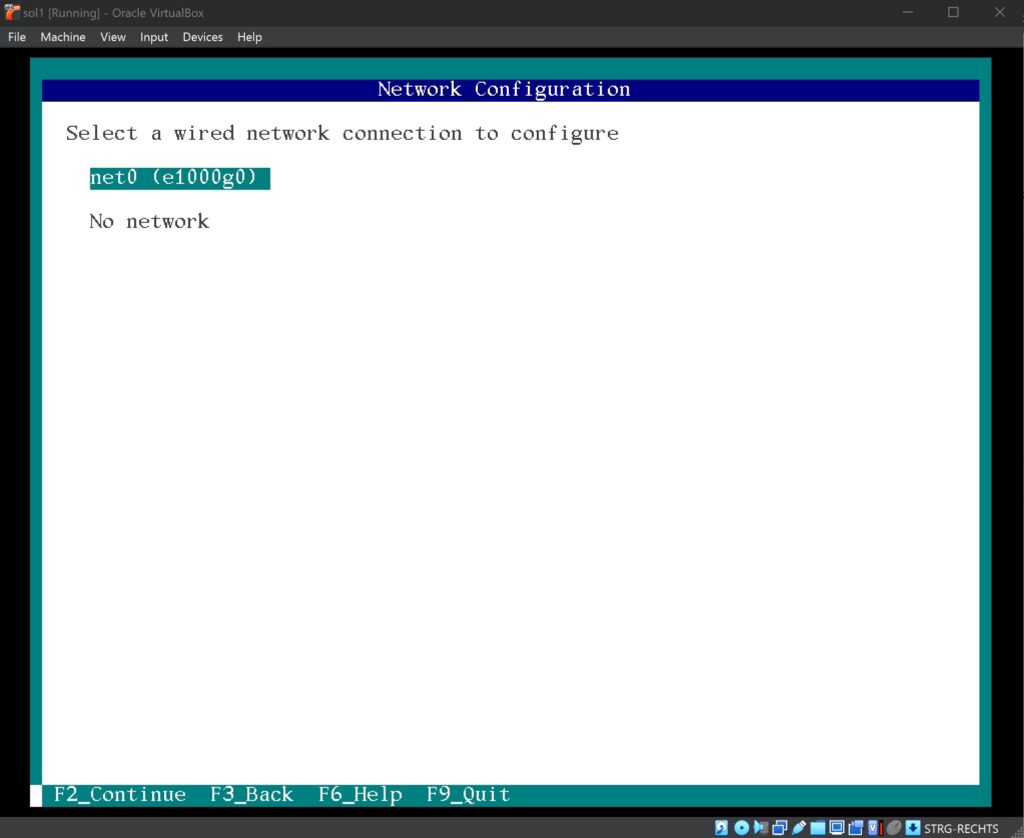
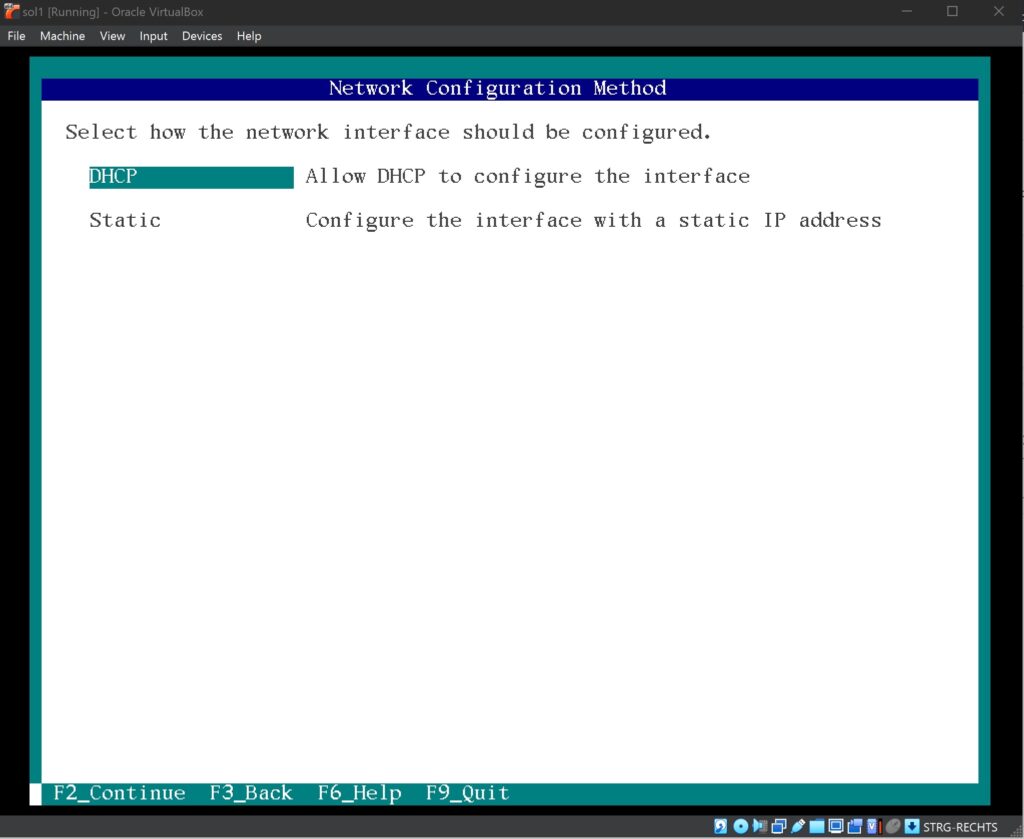
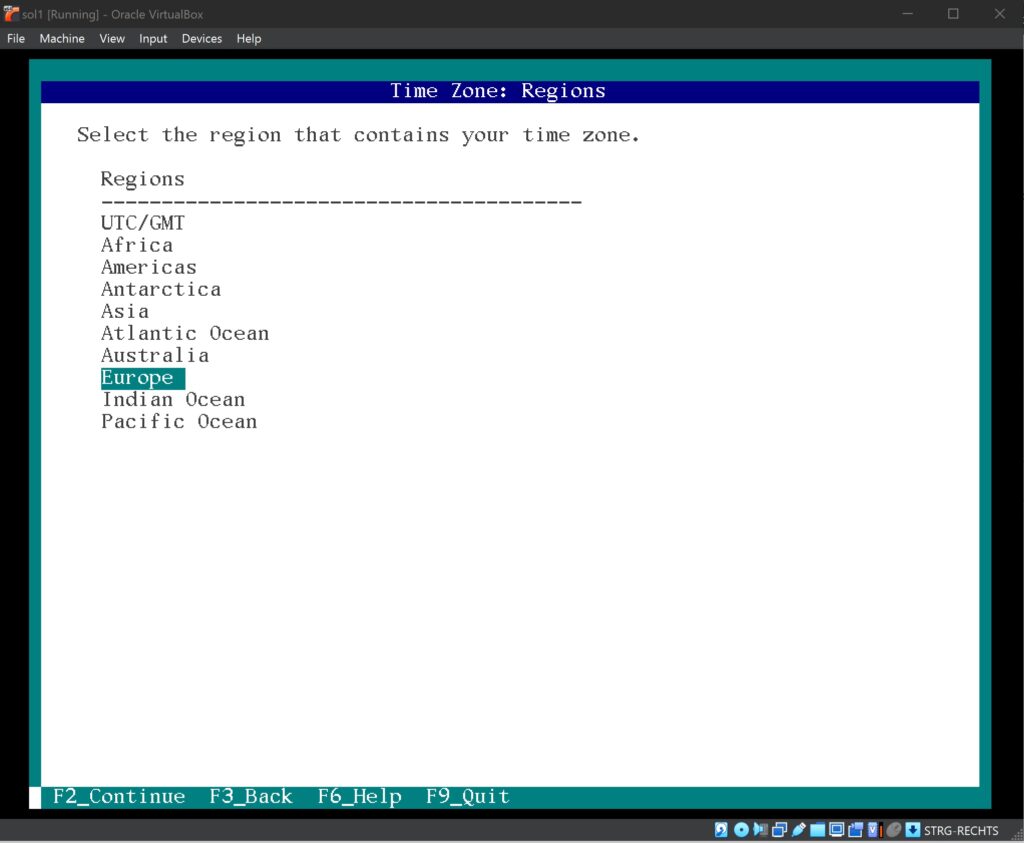
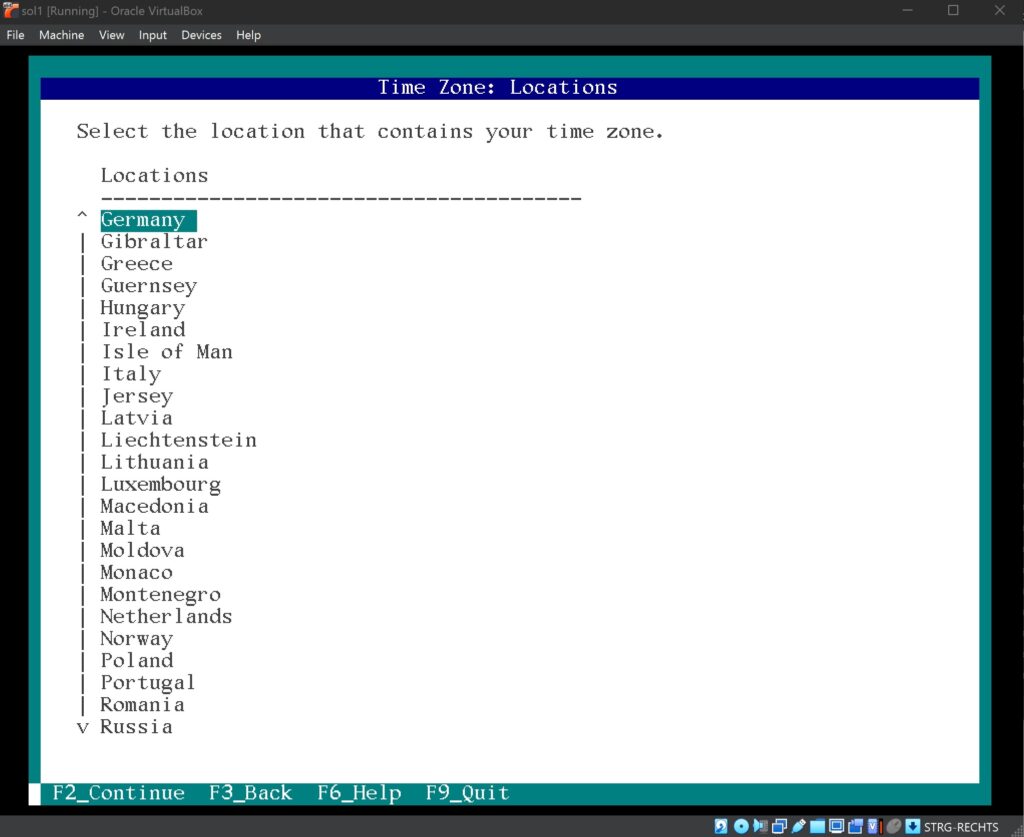
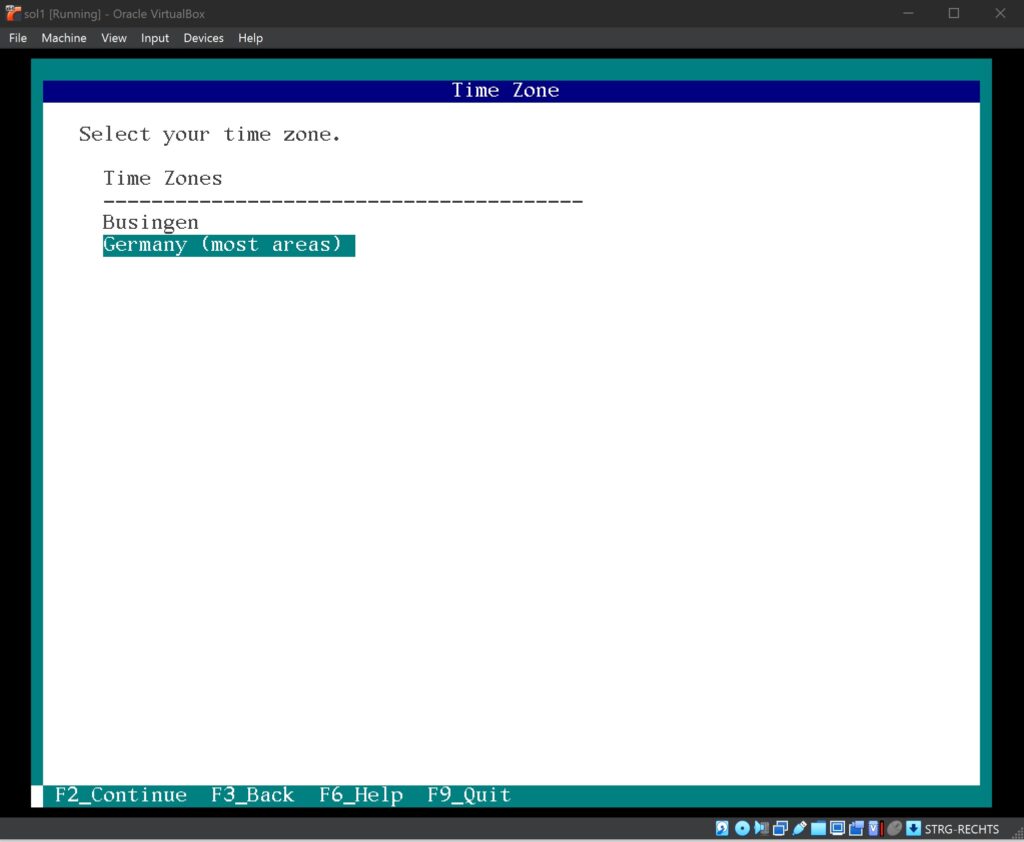
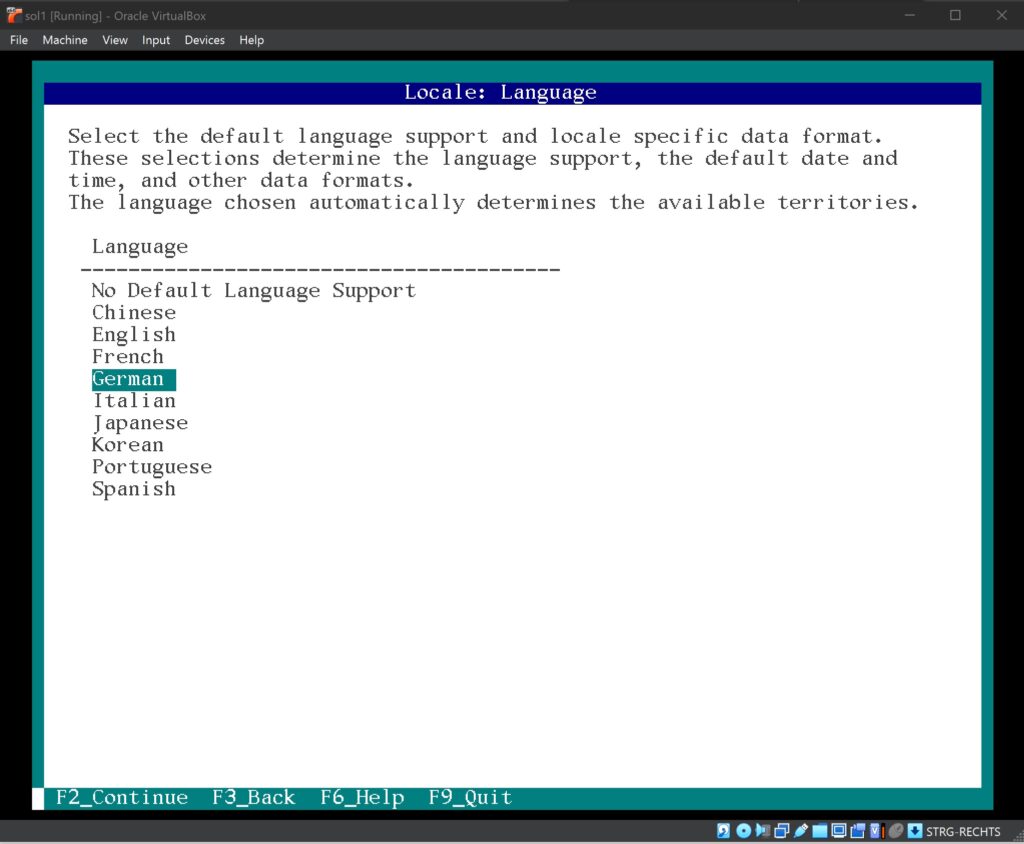
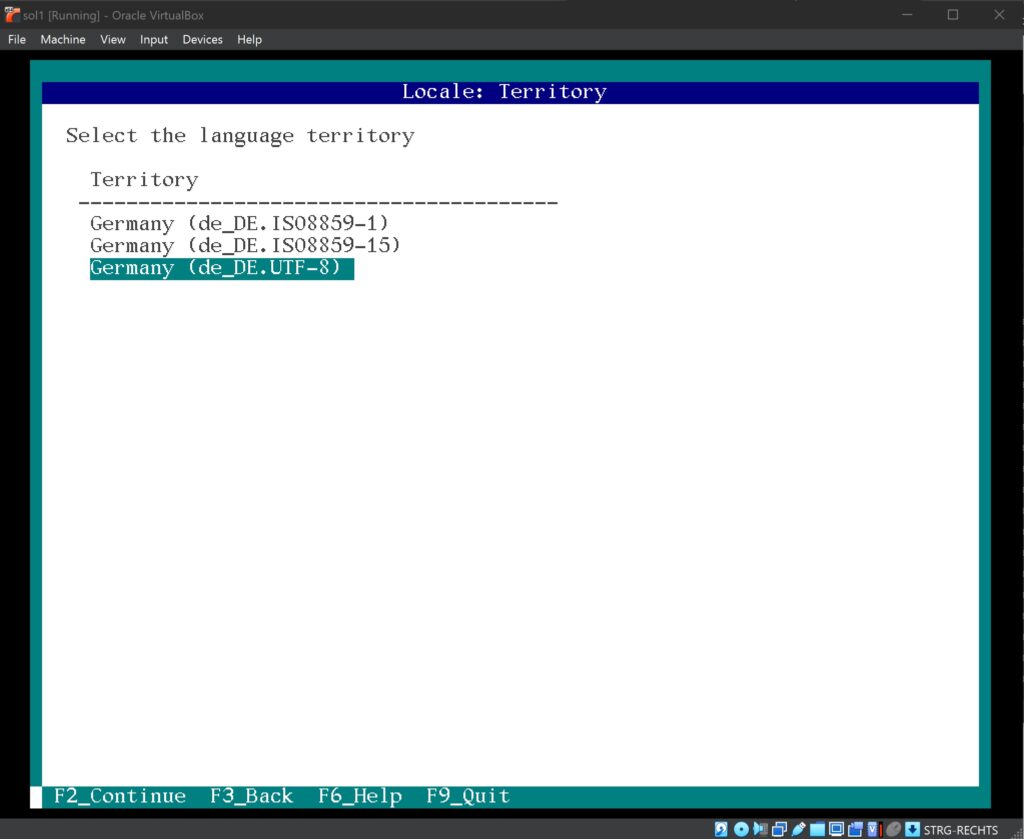
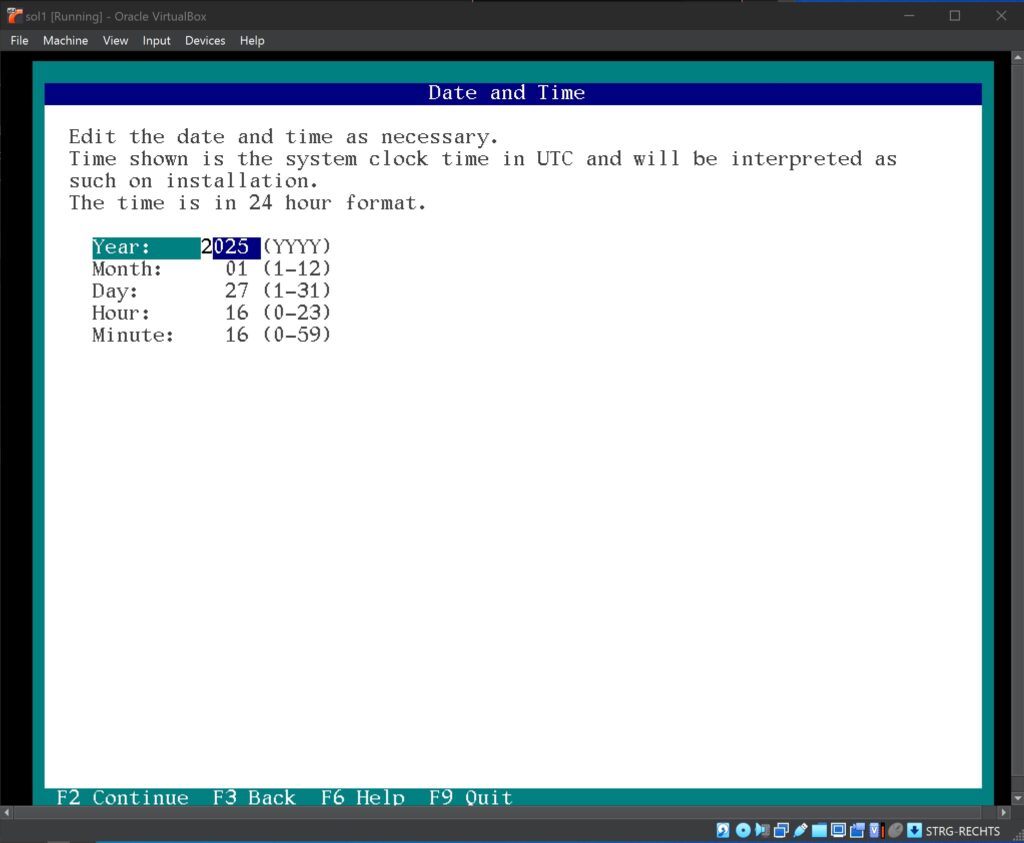
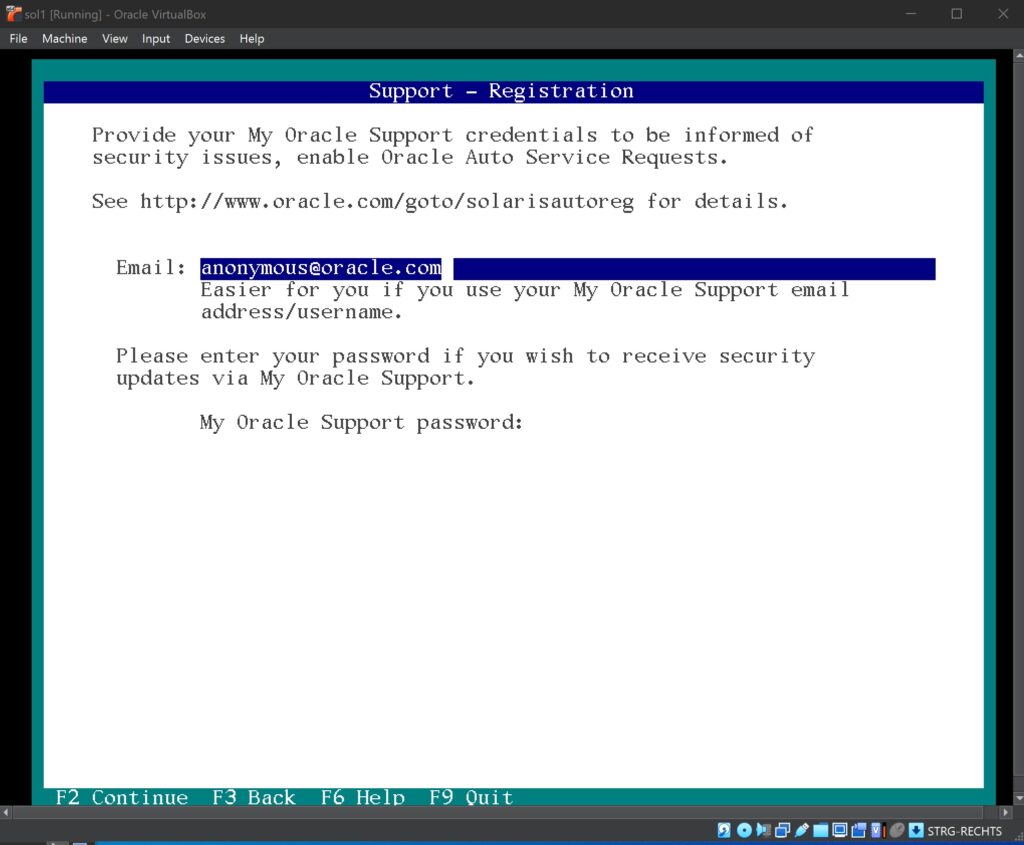
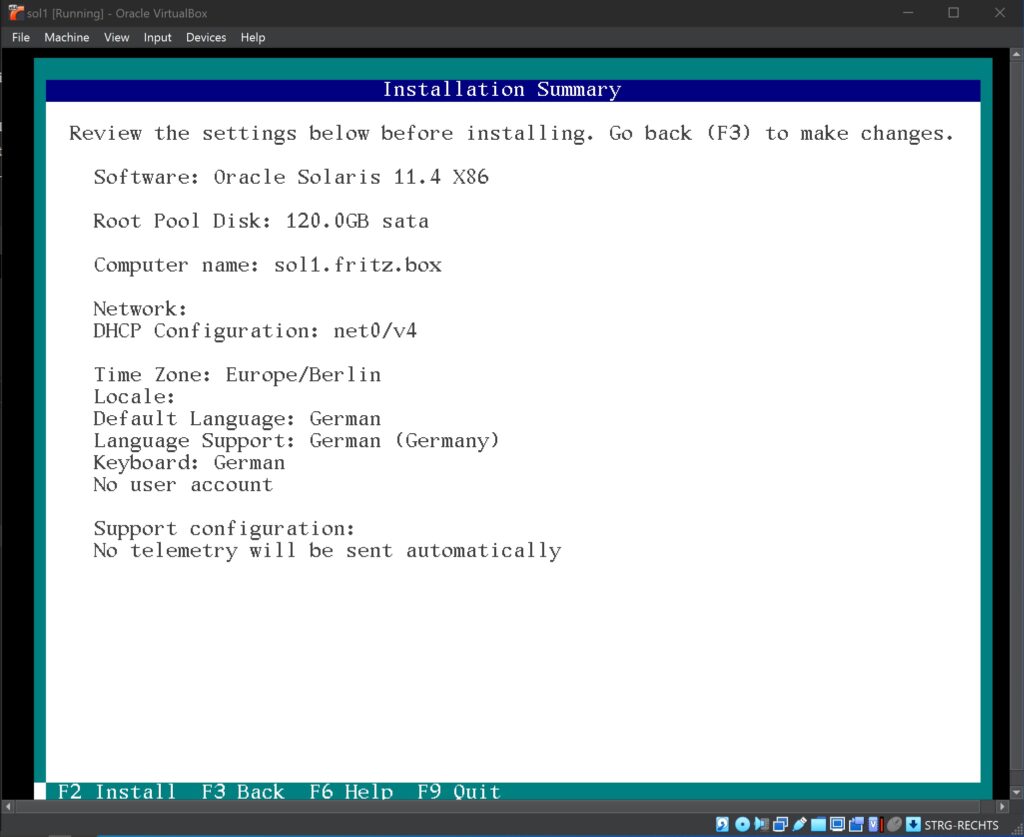
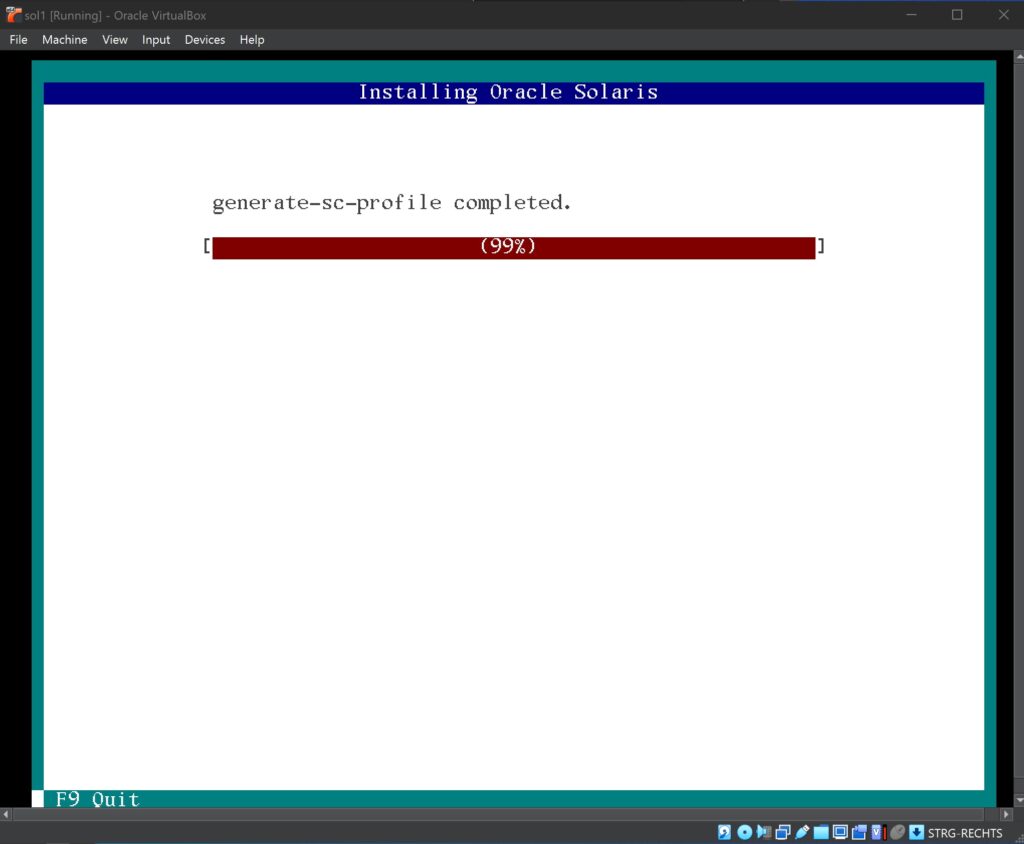
The VM will now start and boot from the downloaded iso image. Answer the questions as shown in the screenshots:

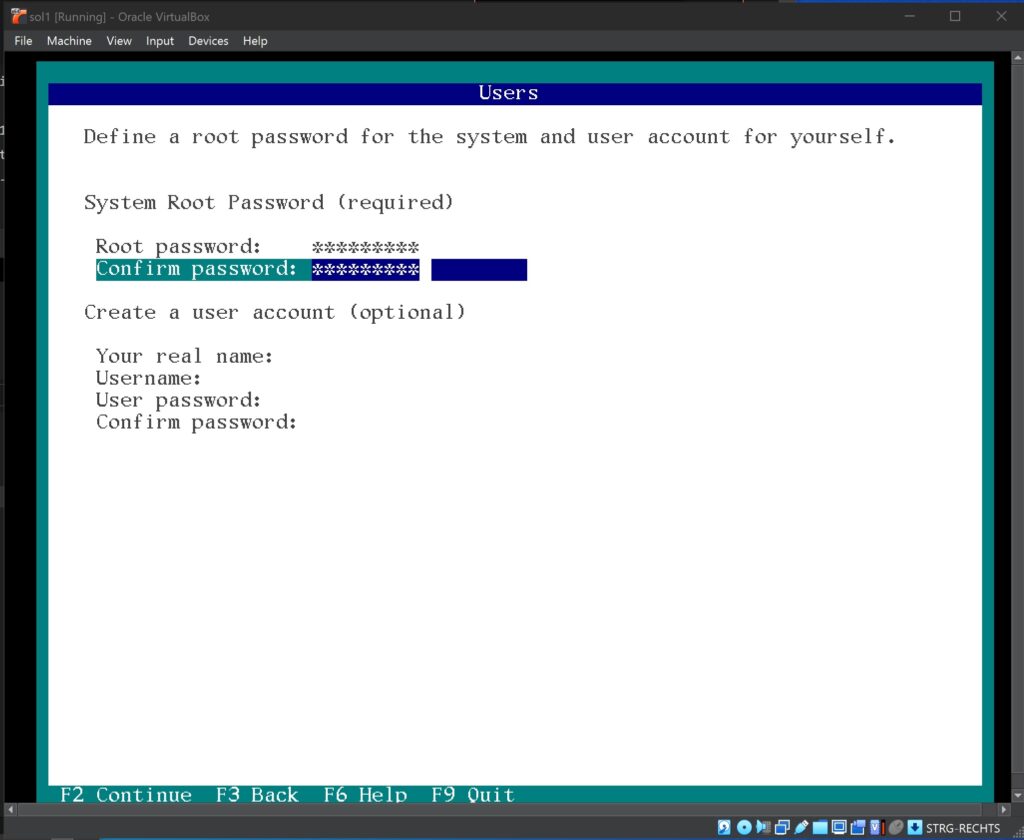
Enter changeme# as the password.
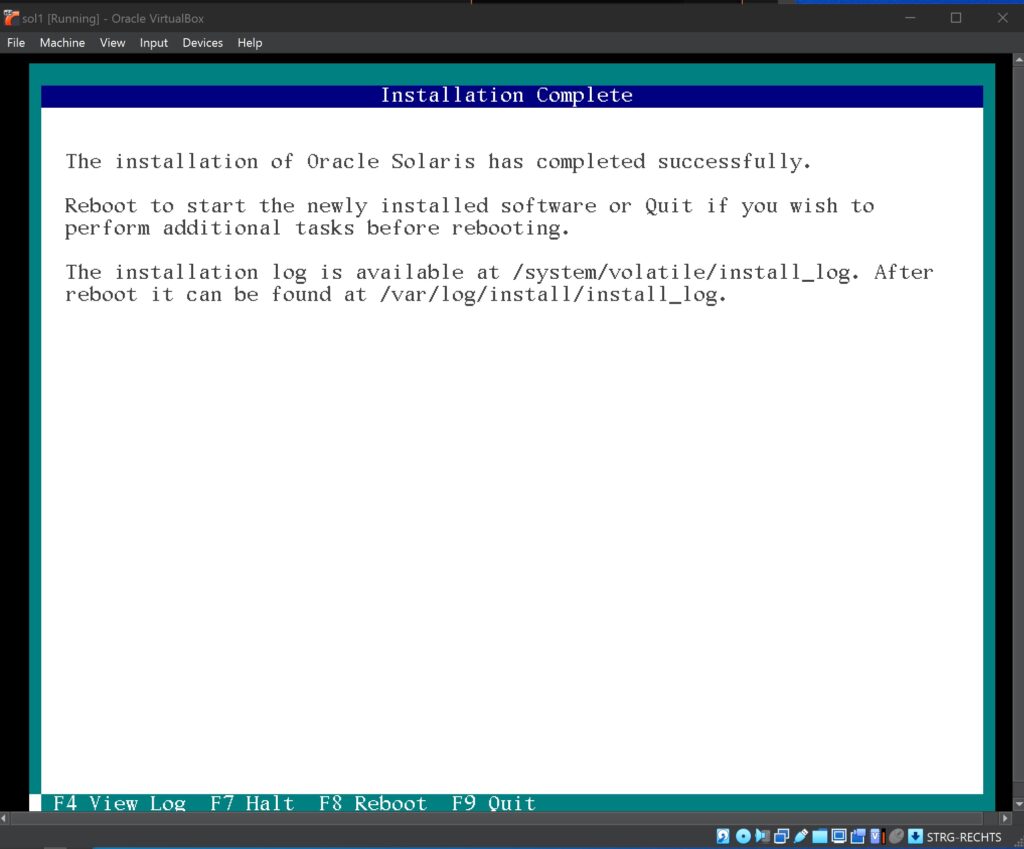
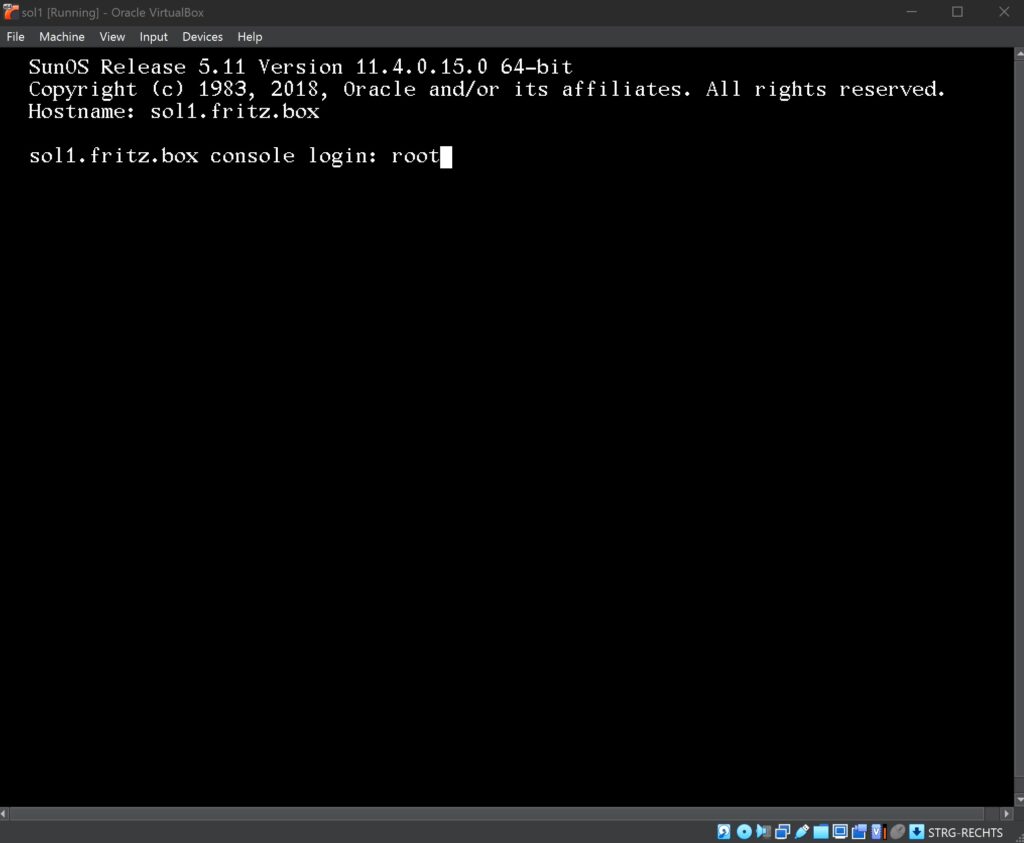
The installation is finished and you can login to the system with the username: root and the password: changeme#
To enable remote ssh login change the parameter PermitRootLogin in the file /etc/ssh/sshd_config from no to yes and restart the ssh daemon with svcadm restart ssh
Installing patches
The system can be patched with the following command:
pkg update --accept
Further info
- If there are errors during the installation you can remove the VM configuration and files and do a complete new installation
- Oracle Solaris 11 Resources
- vboxmanage Command Reference
Leave a Reply