
Install Foglight on Windows
Foglight is a tool to monitor and optimize servers and databases. In this post we are going to install a Foglight server on Windows 10.
Table of Contents
Preparation
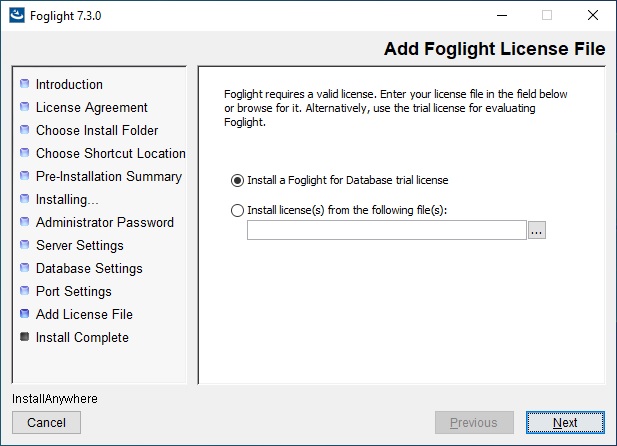
We can download a 30 day trial version of Foglight for Databases from here. The current version is 7.3. A Windows 10 VM can be setup as described in this post.
Installing Foglight on Windows
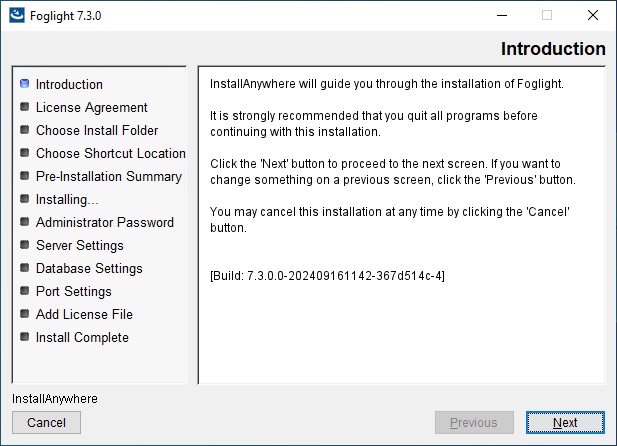
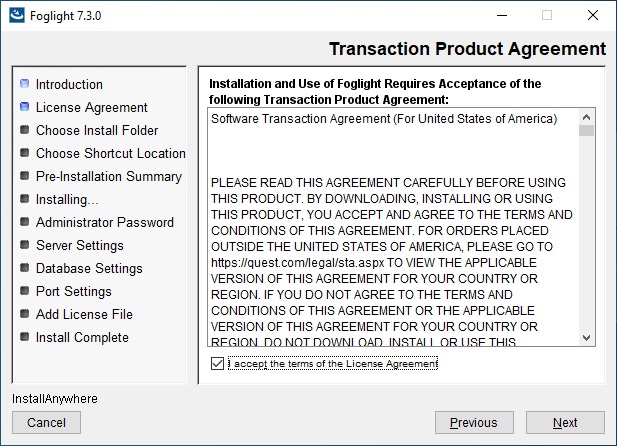
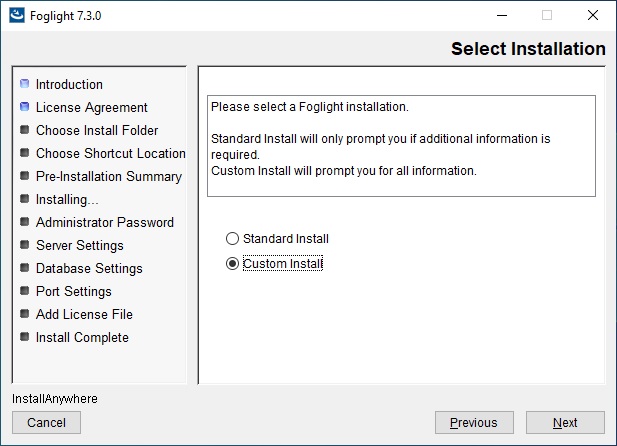
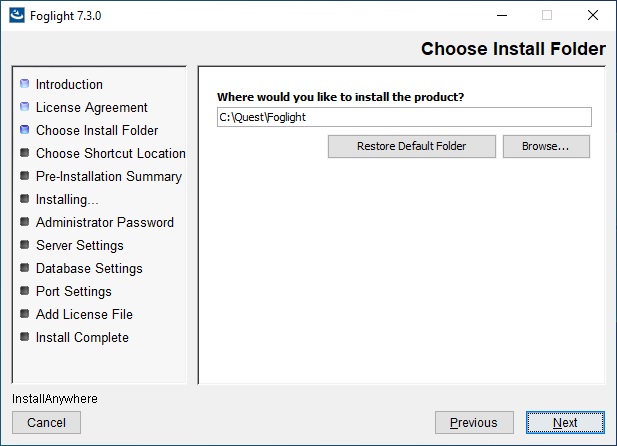
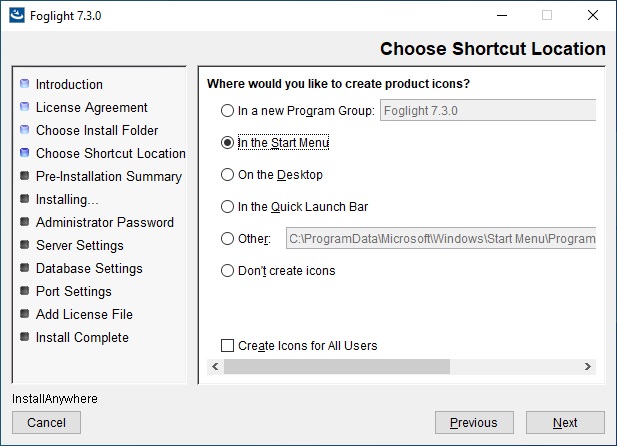
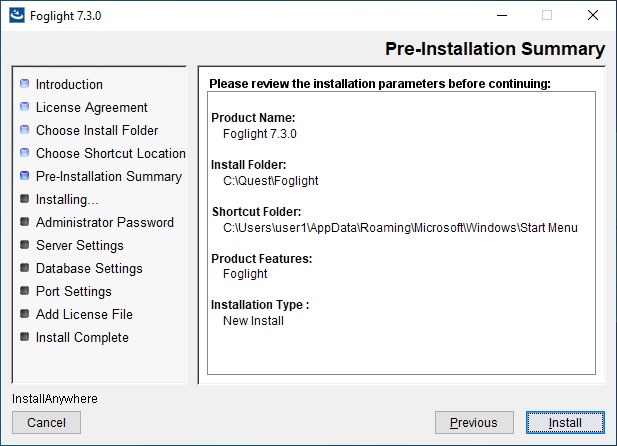
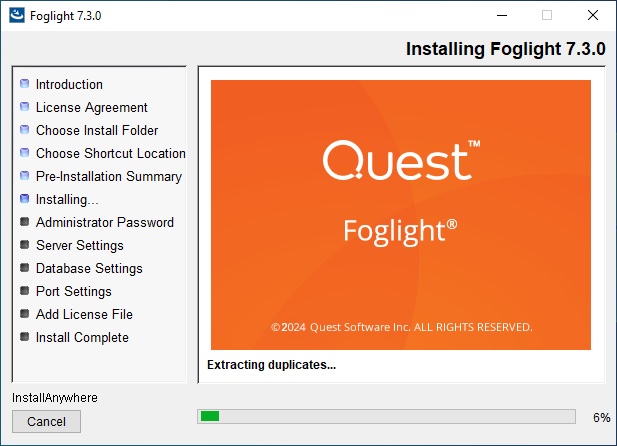
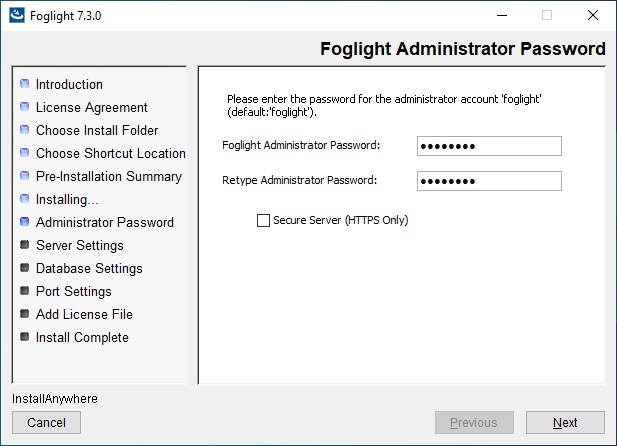
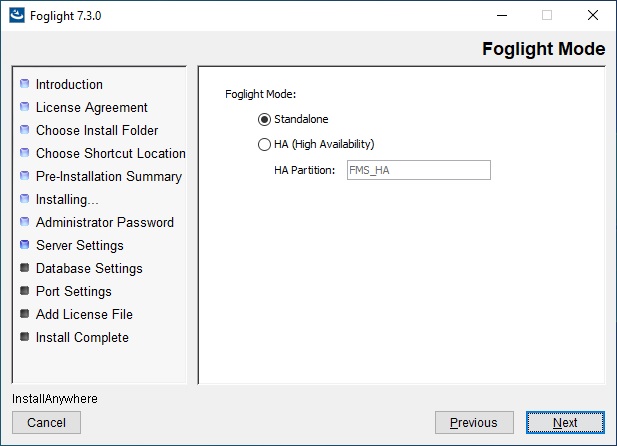
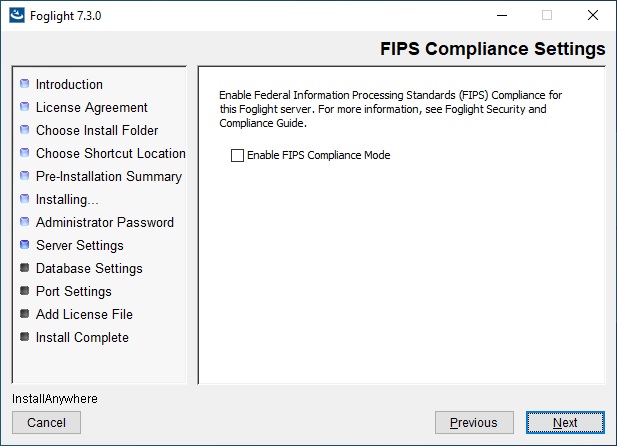
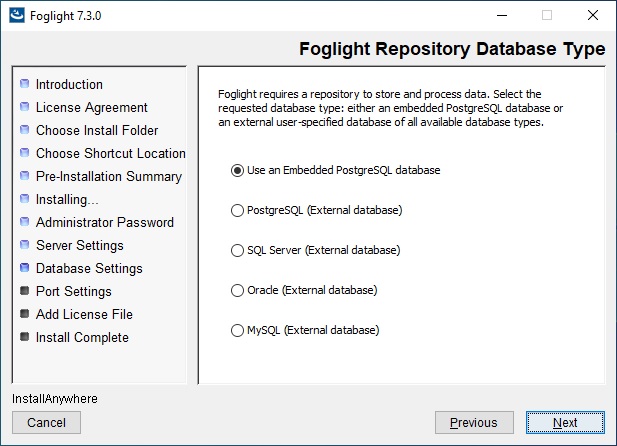
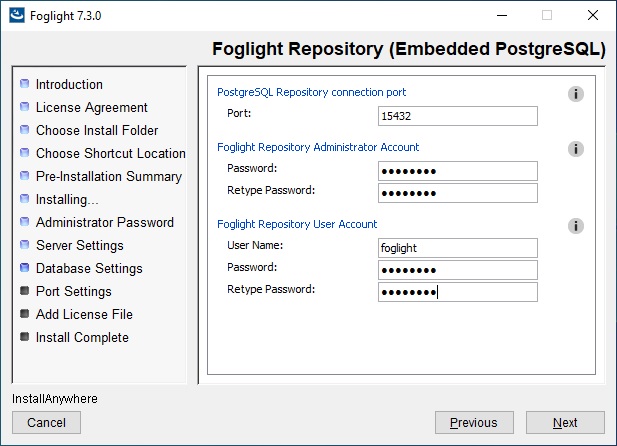
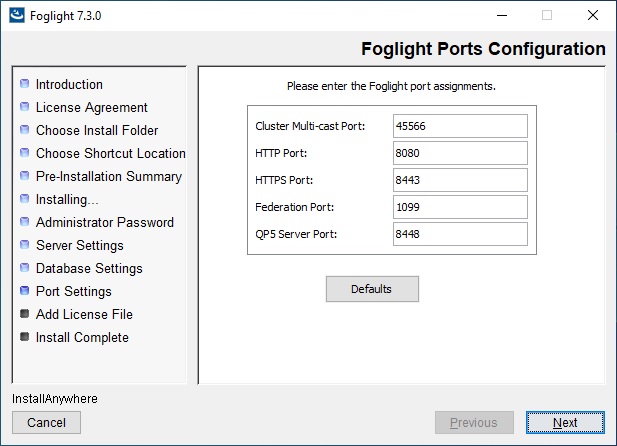
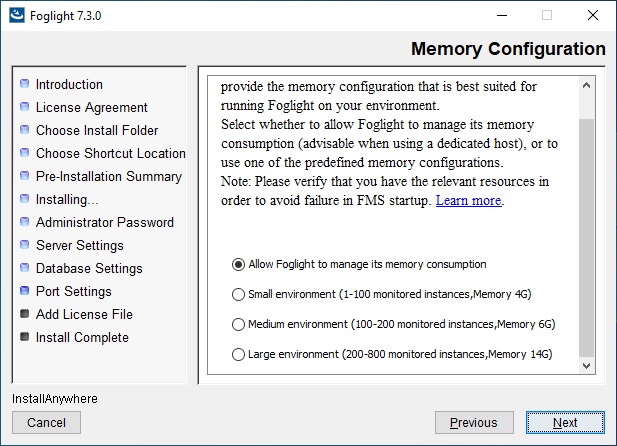
The setup will start by extracting the installer file and running Foglight-7.3.0-FoglightForDatabases-windows-x86_64.exe in the Windows 10 VM. I choose changeme as the password for all accounts.
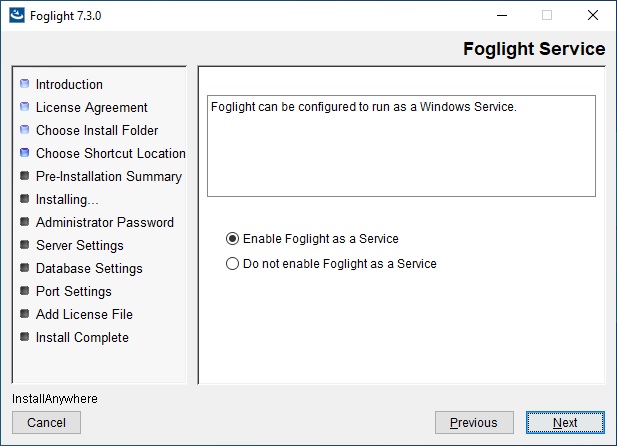
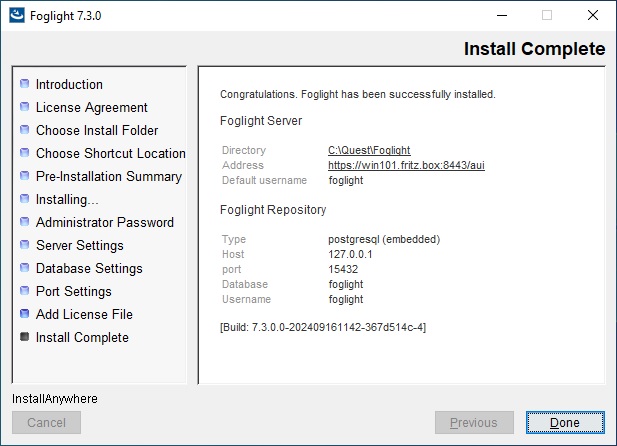
The Foglight server is now installed and running as a Windows service. Next we need to adjust the Windows Firewall to allow incoming connections to the Foglight Server. We can do that by running the following command in an Admin command prompt:
netsh advfirewall firewall add rule name="Foglight" dir=in action=allow program="C:\Quest\Foglight\bin\fms.exe" enable=yesNow we can access the server with a URL similar to this. The username of the Foglight Administrator is foglight and the password: changeme.

In one of the next posts we are going to add an Oracle Database that we want to monitor to the Foglight server.
Important Directories
- Location of the logfiles: C:\Quest\Foglight\logs
Leave a Reply